Surface finish is everything that happens to the glass after it is formed. It includes embossing. It includes frosting. It includes coating, screen printing, and label integration. These details transform plain glass into a premium package. They add texture. They add depth. And they create visual interest that flat labels alone cannot achieve. If you are building a whiskey brand, mastering 750ml whiskey bottle customization surface finish is not optional. It is essential.
This guide will walk you through the process. We will explore popular finish options. We will break down the production steps. And we will share practical advice to help you avoid common mistakes. By the end, you will know exactly how to plan your next custom bottle project. And you will know who to call when you are ready to start.
Why Surface Finish Defines Premium Whiskey
The whiskey market is crowded. New brands launch every month. Store shelves are packed with beautiful bottles. So how do you stand out? You invest in the details. A smooth, plain bottle says nothing. It blends in. It gets ignored. But a bottle with a custom surface finish commands attention. It invites touch. And it suggests quality before the cap is even opened.
Think about the brands you admire. Many use heavy-base glass. Many feature embossed crests or signatures. Some use frosted panels. Others use metallic coatings. These are not random choices. They are deliberate surface finishes. Each one sends a message about heritage, craftsmanship, and value. Your
750ml whiskey bottle has roughly thirty square inches of surface area. That is valuable real estate. Use it wisely.
Surface finish also affects photography. Your bottle will appear in online stores. It will show up in social media posts. It will sit on bar shelves under warm lighting. A flat bottle looks flat in photos. A textured bottle catches highlights and shadows. It looks alive. It looks expensive. And in the digital age, that visual appeal drives sales.
.webp "1786350612-转换自-png_(1).webp")
Understanding Your 750ml Canvas
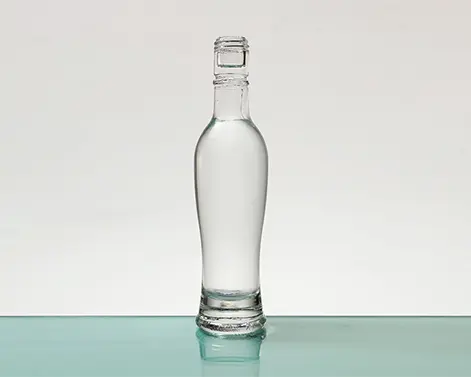
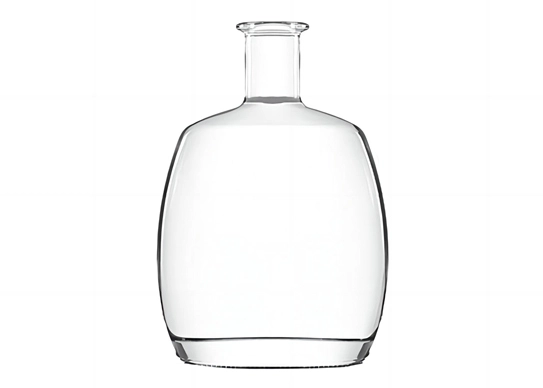
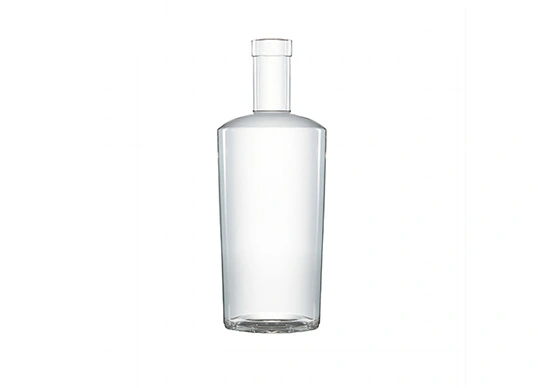
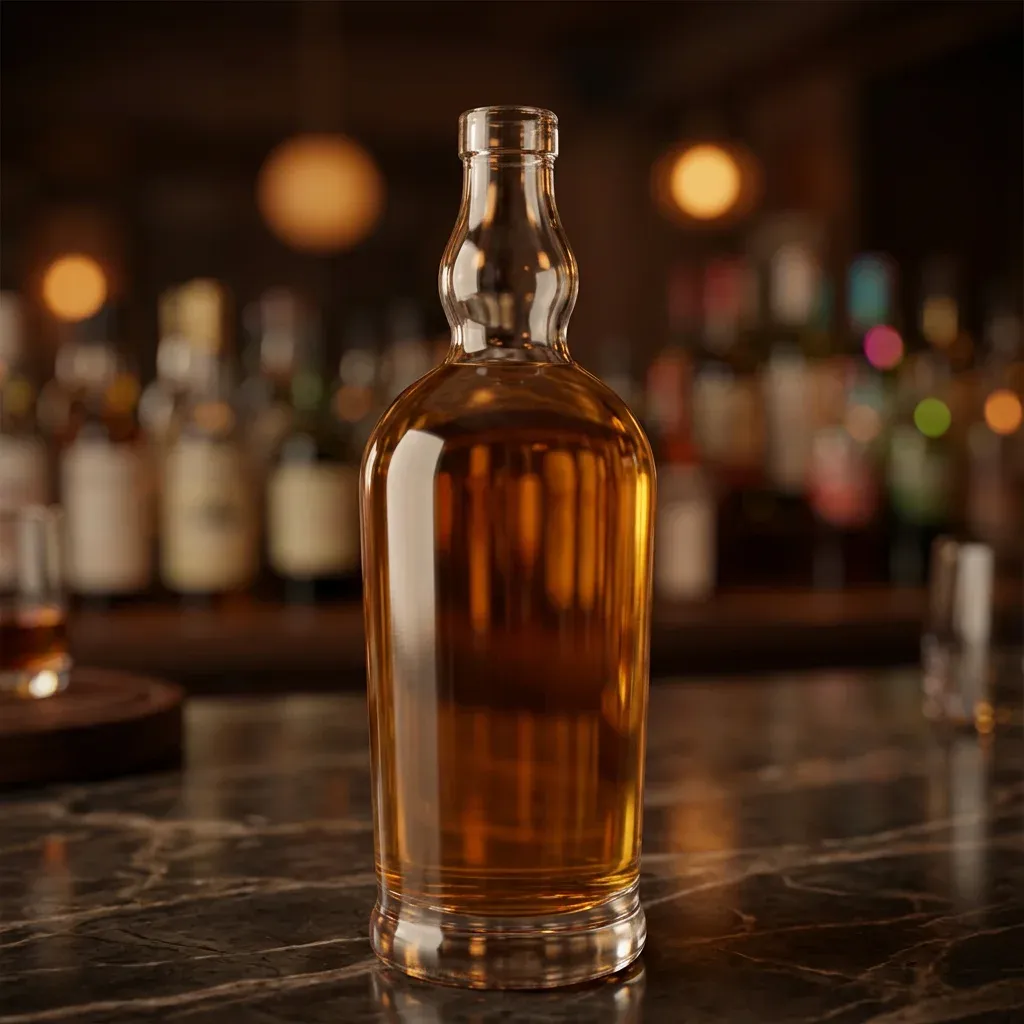
Before you choose a finish, study your bottle. The 750ml whiskey bottle typically has a tall body. It has a defined shoulder. And it has a sturdy base. Each area offers different possibilities. The front panel is prime territory. This is where your logo lives. This is where embossing or debossing makes the biggest impact.
The shoulder slopes upward toward the neck. It is a smaller space. But it is highly visible. Many brands place a small emblem here. Some add a repeating pattern. The back panel often carries legal text. It can also support subtle texture. The base is frequently overlooked. Yet a small raised mark on the bottom adds a final touch of luxury. Your customer discovers it when the bottle is empty. It is a quiet signature of quality.
Glass color matters too. Flint clear glass shows every surface detail. It reflects light beautifully. Amber glass softens the effect. It gives a vintage feel. Black or ceramic-coated glass hides texture. So if you want your finish to shine, choose your glass color carefully. The finish and the color must work together. Not against each other.
Popular Surface Finishes Explained
There are many ways to customize a
750ml whiskey bottle surface. Each method creates a different look. Each has its own cost and timeline. Here are the most common options used by premium spirits brands today.
Embossing raises your design above the glass surface. Your logo or pattern literally stands out. You can feel it with your fingers. Embossing works best for bold logos. It works for crests and signatures. The depth usually ranges from 0.3mm to 1.5mm. Deeper embossing looks dramatic. But it requires careful mold engineering. It is the classic choice for heritage whiskey brands.
Debossing is the opposite. It presses your design into the glass. The result is an indented pattern. Debossing is subtler than embossing. It catches light differently. It creates shadow lines rather than raised highlights. Some modern whiskey brands prefer this look. It feels understated. It feels contemporary.
Frosting creates a matte, satin surface. It can cover the entire bottle. Or it can be applied to specific panels. Frosting contrasts beautifully with clear glass. Many brands frost the shoulder and leave the body clear. Others frost the entire bottle and add a clear window for the label. The effect is elegant. It suggests cold, smooth whiskey before the first pour.
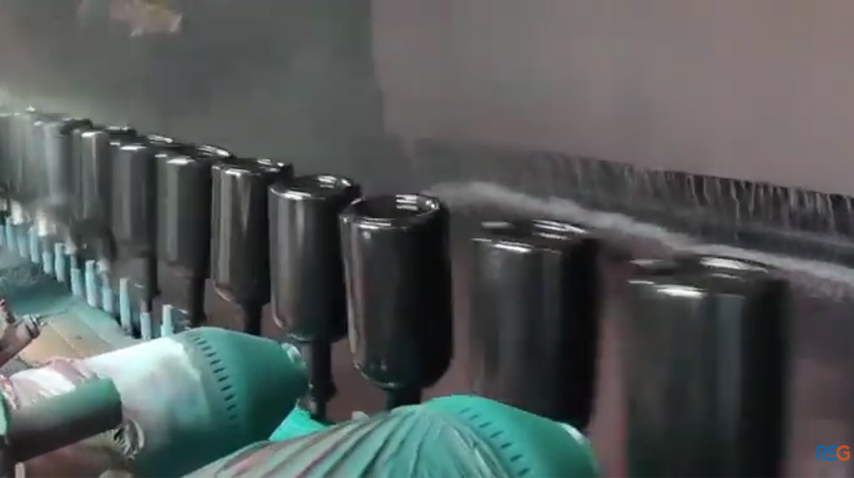
Ceramic and Metallic Coating adds color and texture. These coatings are sprayed or dipped onto the glass. They can mimic metal. They can create matte black finishes. Or they can produce iridescent effects. Coating is popular for limited editions. It makes a bottle feel like an object of art. But coating can obscure embossed details. Plan your design carefully if you combine coating with other finishes.
Screen Printing applies ink directly to the glass surface. It replaces paper labels for some brands. It is durable. It does not peel. And it allows for fine detail that embossing cannot achieve. Many whiskey bottles use screen printing for legal information. They use embossing for the logo. The two methods complement each other perfectly.
Designing for Glass, Not Paper
This is where many brands stumble. They create a beautiful logo on a computer screen. It looks perfect flat. Then they try to transfer it to a curved glass bottle. And it fails. Glass is not paper. It has curves. It has limitations. And it requires a different design mindset.
Keep your lines bold. Thin details get lost in glass. Tiny text becomes unreadable. Avoid sharp internal corners. Glass does not like them. They create stress points. They weaken the bottle. Work with a designer who understands
750ml whiskey bottle customization surface finish. Ask to see their past bottle projects. Not just their label designs.
Consider how your finish interacts with your label. Will the label sit on top of an embossed area? That rarely works well. Adhesion suffers. The label wrinkles. Will you use a clear label over a frosted panel? Test it. Some adhesives react badly to frosted surfaces. Plan these interactions early. Fix them on paper. Not on the production line.
Also think about the bottle neck and closure. A wax-dipped neck pairs beautifully with an embossed body. A wooden stopper feels natural against a frosted shoulder. These details seem small. But together they create a cohesive brand experience. Do not design your bottle in isolation. Design it as a complete package.
From Concept to Mold
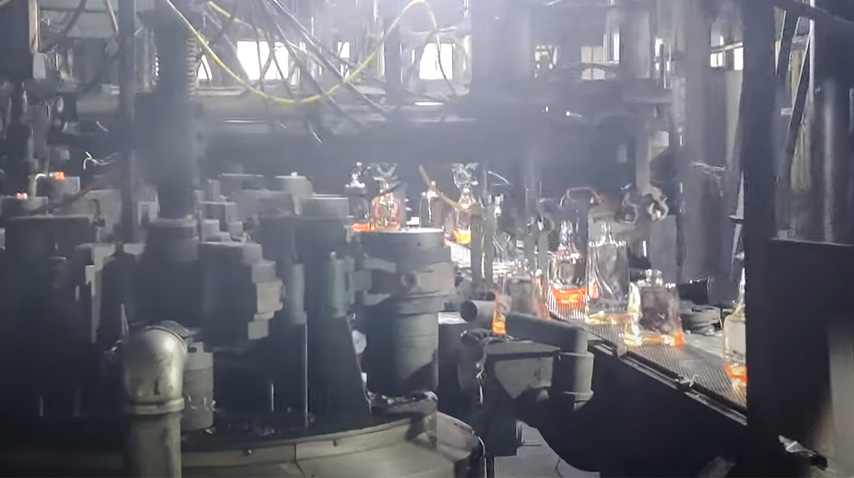
Once your design is ready, the engineering phase begins. This is where art meets manufacturing. Your design must be converted into a mold-ready format. The mold maker carves your pattern into metal. This is usually steel or aluminum. The precision required is remarkable. A difference of 0.1mm in depth can change how your logo catches the light.
Mold creation takes two to four weeks. Complex designs take longer. Rush molds cost more. And they wear out faster. If you plan a long production run, invest in a high-quality steel mold. It costs more upfront. But it lasts for hundreds of thousands of bottles. That saves money over time.
Your supplier should provide mold drawings for approval. Review them carefully. Check the depth. Check the placement. Make sure your logo sits exactly where you want it on the 750ml body. Once the mold is cut, changes are expensive. So be thorough now. Ask questions. Request revisions. This is your foundation. Everything else builds from here.
Sampling: Your Moment of Truth
Never skip the sampling stage. This is non-negotiable. Your supplier will produce a small batch of pre-production bottles. Hold them. Turn them in your hands. Feel the surface finish. Does the embossing have enough depth? Is the frosting uniform? Does the coating cover evenly?
Look at the samples under different lights. Natural daylight reveals flaws that factory lighting hides. Take photos with your phone. See how the bottle looks in pictures. Show the samples to your team. Show them to friends. Get honest feedback. Does the bottle feel premium? Or does it feel like a cheap imitation?
If something is wrong, speak up now. Adjust the mold. Change the depth. Modify the frosting formula. It is easy to fix at this stage. It is costly to fix later. Approve samples only when you are genuinely excited about them. Not when they are good enough. When they are exactly right.
Production and Quality Control
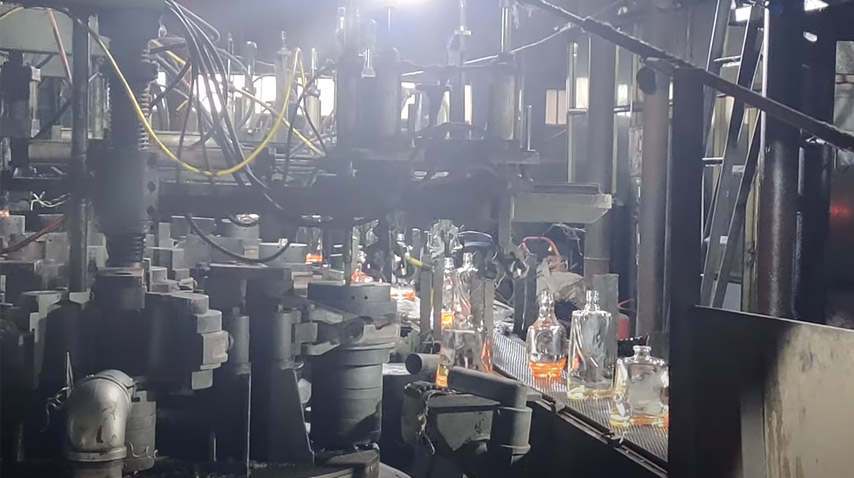
With approved samples, mass production begins. Your
700ml whiskey bottles—wait, no, your 750ml bottles—are formed in the custom mold. The surface finish is applied during or after forming. Quality control happens throughout the run.
Inspectors check for glass thickness. Embossing can thin the glass in certain areas. That creates weak points. Frosting must be consistent from bottle to bottle. Coating must not have drips or bubbles. These checks are critical. A single flawed bottle on a store shelf damages your brand image.
Ask your supplier for production photos. Better yet, arrange a third-party inspection. Visit the factory if possible. Seeing the production line gives you confidence. It also builds your relationship with the supplier. They know you care. And they work harder to meet your standards.
Costs, Timelines, and What to Expect
Custom surface finishes require investment. Mold costs range from a few hundred to several thousand dollars. The price depends on complexity. It depends on material. And it depends on where your supplier is located. Treat this as a startup cost. It pays for itself over your production run.
The per-bottle increase is usually small. Embossing might add a few cents. Frosting might add a bit more. Coating is typically the most expensive option. But even then, the cost is manageable for premium whiskey. Your retail price should easily absorb it. And the shelf appeal you gain is worth far more than the extra cost.
Plan for eight to twelve weeks total. That includes design, mold making, sampling, and production. If you need bottles for a holiday release, start in the summer. If you have a trade show in March, begin before Christmas. Glass production cannot be rushed. Not if you want quality. Respect the timeline. Your launch will be smoother for it.
Minimum orders vary. Most factories want at least one 20-foot container. That is roughly ten to fifteen thousand
750ml bottles. Some offer lower minimums. But the unit price jumps. Be realistic about your volume. Do not overcommit. But do not expect custom work for a few hundred bottles either.
Common Mistakes to Avoid
Do not combine too many finishes. A frosted, embossed, coated, and screen-printed bottle looks busy. It looks confused. Choose one or two primary finishes. Let them breathe. Let them stand out.
Do not ignore the closure. Your cap or cork must match your bottle finish. A cheap plastic cap ruins an embossed glass body. Invest in quality closures. They complete the package.
Do not forget about shipping. Embossed bottles have less uniform surfaces. They need better padding in transit. Discuss packaging with your supplier. Make sure your bottles arrive intact. Broken bottles are lost revenue. And they are heartbreaking after all your design work.
Conclusion: Make Your Bottle Unforgettable
Your 750ml whiskey bottle is more than packaging. It is your brand ambassador. It sits on shelves. It appears in photos. It gets passed from hand to hand at gatherings. A custom surface finish turns that bottle into a conversation piece. It makes people look twice. It makes them reach out and touch. And it makes them remember your name long after the whiskey is gone.
Start with a clear vision. Choose the right finish for your story. Work with experienced partners. Test your samples. And plan your timeline with patience. The result will be a bottle that looks as refined as the spirit inside it. Your customers will notice. Your competitors will envy. And your brand will grow.
When you are ready to bring your vision to life, talk to RSG Glass. They specialize in
750ml whiskey bottle customization surface finish. Their team understands the details that matter. They know embossing. They know frosting. They know coating. And they know how to deliver consistent quality at scale. Whether you are launching a new label or upgrading an existing line, RSG Glass has the expertise and the capacity to make it happen. Visit their website today. Request a quote. And take the first step toward a
whiskey bottle that truly stands apart.
 English
 français
 Deutsch
 Español
 italiano
 русский
 português
 tiếng việt
 Türkçe
 Polska
 Indonesia